 “I think I can see my keys.” Adding a storm drain can create a scenario of it’s own.
Storm drains and heavy rain runoff is something that we don’t need to worry about on our layouts. The real world is not so fortunate. So having drainage modeled into our layouts is something we need to consider.
I created a quick and simple method of modeling storm drains on my layout, The Trenton Subdivision in N Scale, using some old scraps.
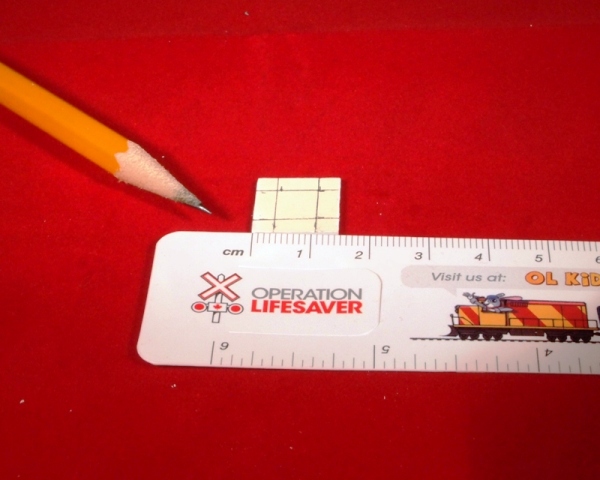
Important Note -All my measurements are in millimetres (mm). I find this is more accurate than trying to measure 37/64 of an inch. Also being Canadian we us metric. On that note, that is the Canadian spelling for millmetres

Step 1: I had a left over section of catwalk from the Heljan Sanding Tower kit. The width of the catwalk is 7 mm, I want 4 mm ( 2 scale feet) of concrete on all sides of my storm grate. From a 1 mm thick sheet of styrene cut a square 15 mm by 15 mm.

Step 2:Â Cut a 7mm x 7mm square from the catwalk. Paint this piece black, make sure you do not fill the grating in the catwalk. Once the black paint is completely dry, dry brush rust colored paint over the grating to bring out the texture of the grate.
Step 3:Â Measure a 7mm x 7mm square on the styrene. The size of the styrene can be changed to match the size of grating available. Large storm drains will have a wide concrete border around the grate.

Step 4:Â Carefully cut the centre of the square from the sheet of styrene. Any nicks or slips with the knife will show as a line in the concrete when finished. Â File the edges smooth.
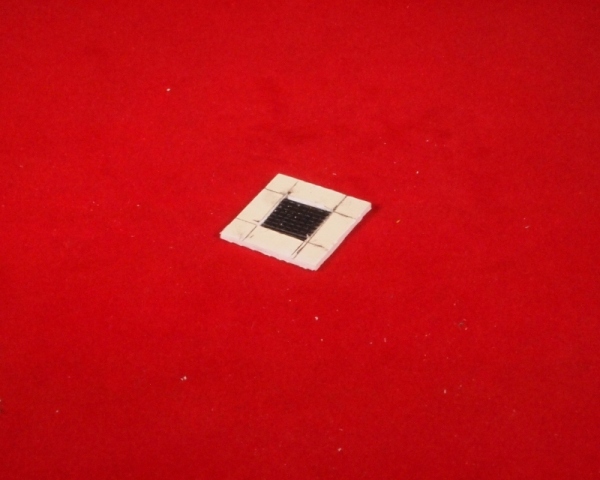
Step 5:Â Check for correct size. Insert the grate into the hole, it should fit very snug.
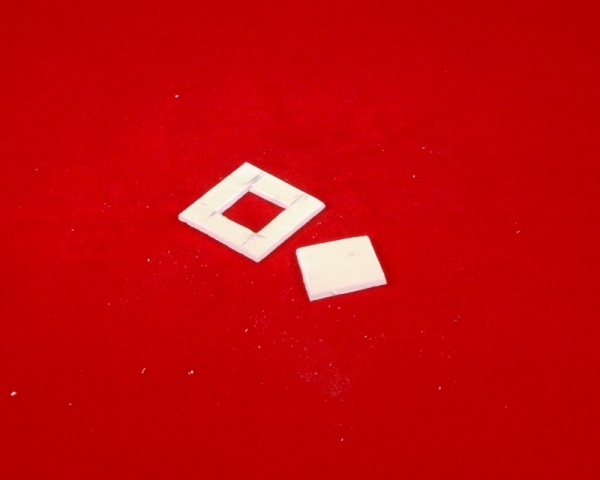
Step 6:Â Cut a second square, slightly larger than the hole in the base square. Exact size in not important as long as it can not be seen on the finished edge of the base square.

Step 7:Â Glue the smaller square to the bottom of the base square to form a pocket for the grate to rest in. Then glue the grate into the hole.
Paint the entire base with a concrete paint and you are ready to place this storm drain anywhere on your layout.

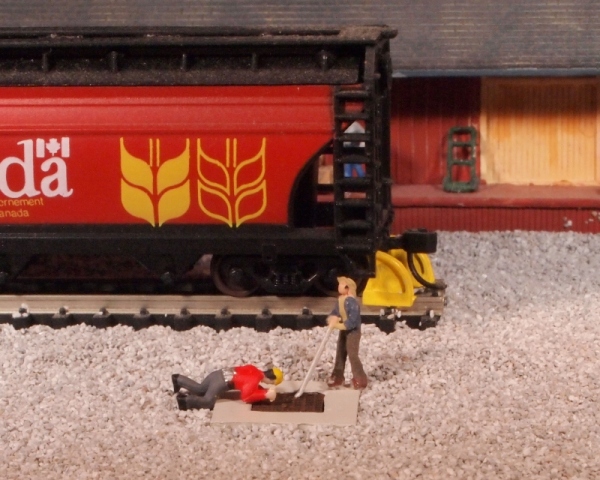
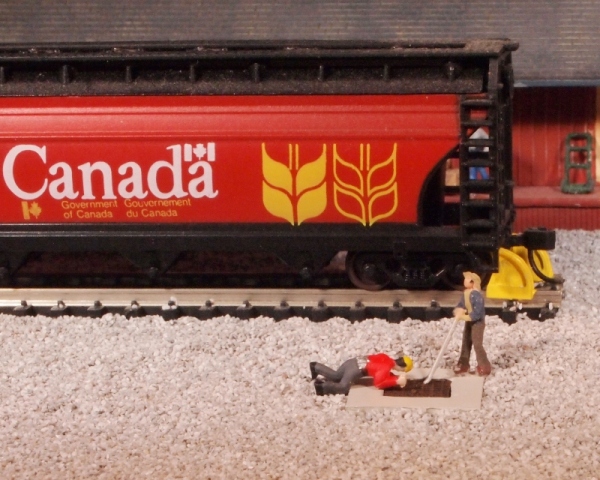
This is a picture of how I took the scenery photo at the beginning of this blog.  I call this “Insta Scene.” I placed a short section of track on foam roadbed in a shallow plastic tray. I filled the area of the photo with ballast and placed a building in the background. The storm drain is nested into the ballast and the two figures are placed with temporary glue, to keep them standing.  This is a portable photo studio with white box and two portable halogen lamps. The camera sits on the tripod in the foreground.