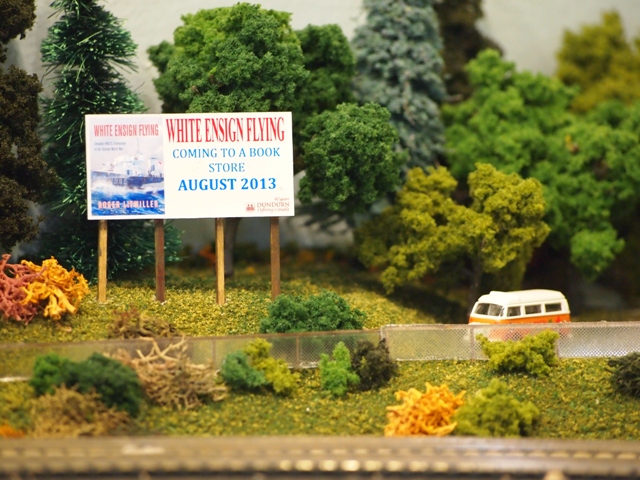
A back corner of the layout provides a “Lover’s Lane” diorama on the Trenton Subdivision in N Scale.
Each area on your layout not containing track has the potential to be a remarkable diorama. Consider this an opportunity to place a little bit of your own personality into the scene.
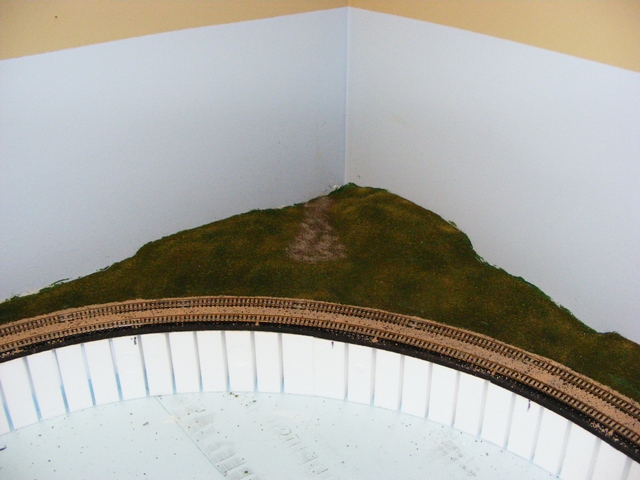
Corners can be difficult to model, space is tight, so designing a scene can be difficult if you want more than just a wooded hillside. I decided that this area would be a dead-end country road that came out to the tracks, forming a secluded place for a Lover’s Lane.
Building the Scenery

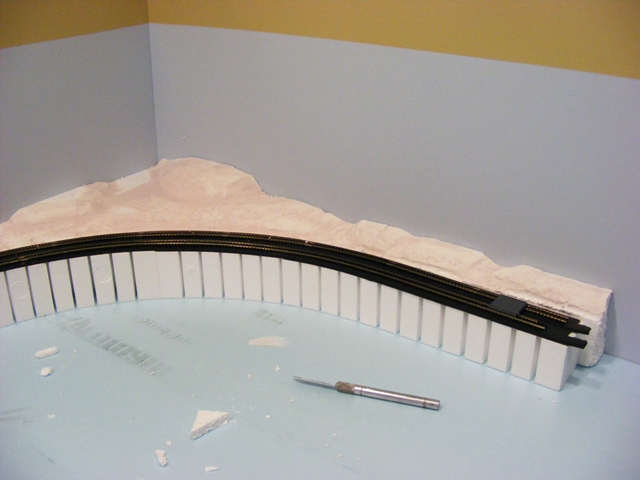
Build and shape the landscape of the scene.
I have used foam blocks for the base of my scenery. It is lightweight and can be easily carved.
In this corner I glued a series of scrap blocks together to match the corner of the wall, the curve and grade of the track. Building the foam to the height that I wanted.
For ease of reach, I then brought the block out of the corner to shape the foam. I then laid on a coating of ready mix wall plaster, smoothing it with my hands.
Securing the Foam
When satisfied with the contours of the scene, secure the foam block in place.
Once I was satisfied with the contours of the corner I secured the foam in place with construction glue.
I then carried on with the rest of the foam, coating with plaster and securing all to the foam board, ensuring the gaps between the foam and risers are filled.
Base Painting
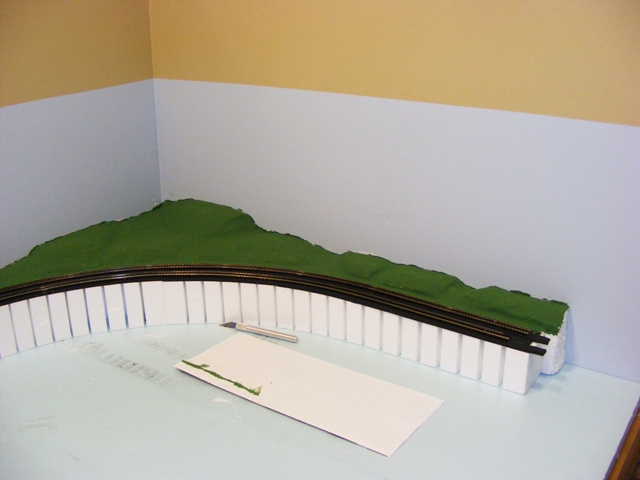
Apply a base color to the scene.
When the plaster and glue is fully dried I painted the entire corner a base green, using a brush. Keeping the paint clear of the tracks and road bed.
I didn’t worry if some paint gets on the back wall as this will be covered with scenery later and helps break up the solid line between ground and sky.
From the Ground Up
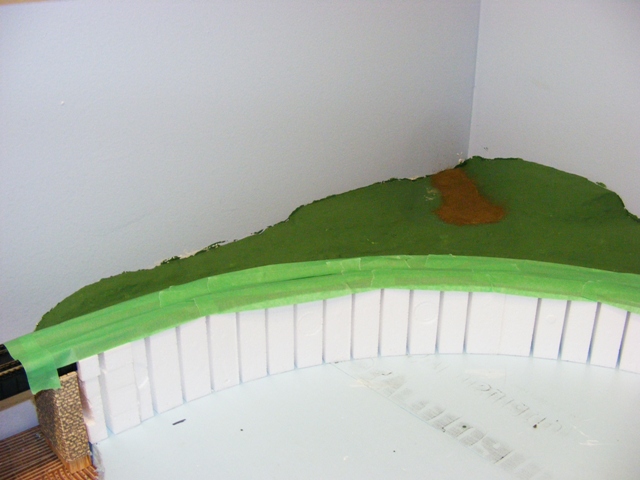
Lay out your roadway first. This road will disappear into the background.
When constructing a scene, build from the ground up. I laid out the road, so it would disappear into the back of the scene. This being an old gravel road I laid Woodland Scenic’s earth first for the mud that shows through the gravel.
I secured the fine ground foam by misting with “wet water” (equal parts alcohol and water) and then using an eye dropper, placed diluted white glue (2/3 water, 1/3 glue) over the ground foam. Allow the diluted glue to flow through, once dry the foam is permanent.
This is the messy part, so I covered the track and track bed with painters tape before beginning.
Using several shades of ground cover and varying textures, will provide a more natural look.
Laying the Ground Cover
For the ground itself I used several colours of Woodland Scenic’s fine ground foams.
I laid a base layer of dark green, ensuring that all the paint is covered. Then secured it with the wet water and diluted glue.
Once dry, I added medium and light green fine ground foam in patches, again securing with wet water and diluted glue.
After the foam was completely dry, I removed the tape and laid the ballast on the tracks. securing it with the wet water and diluted glue.
Build the rest of the scene in layers. Large objects, signs, rocks, fences, etc -first then shrubs, bushes and trees.
Rocks and Trees
If you stand on a wooded hillside and take a good look you will see no two trees are alike, the entire hillside is blanketed with a multitude of colors, shapes and sizes.
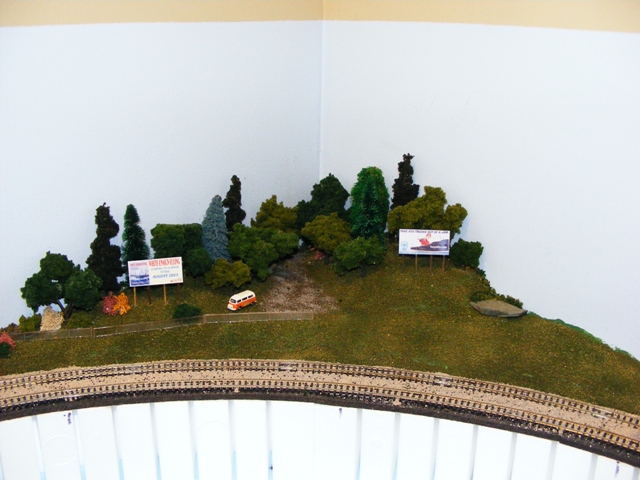
I used a large mixture of trees from several manufacturers to represent this. First I placed the trees around the gravel road. I wanted this to form a tunnel that disappears into the background.
Whenever possible, I use real rocks on the layout for added texture. The chain link fence separates the scene from the track.
The complete diorama is now finished with several layers and textures.
Finishing the Scene
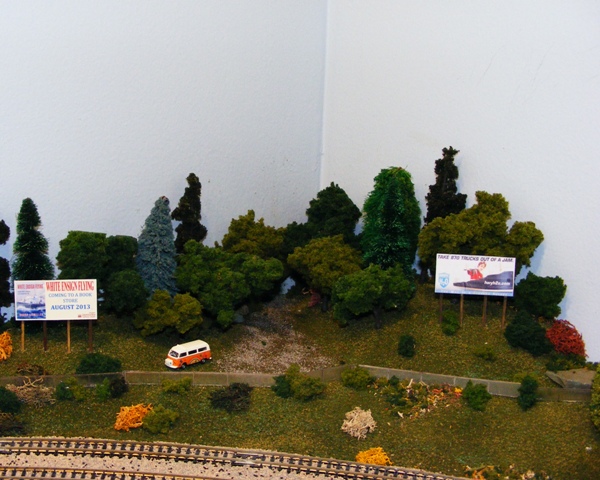
I continue to add trees until I get the effect I want. Small clumps of larger ground foam and lichen are added for bushes. I keep a jar of scrap scenery bits, shredding them to form weeds, small bushes, etc. and place them where I want to break up a solid line.
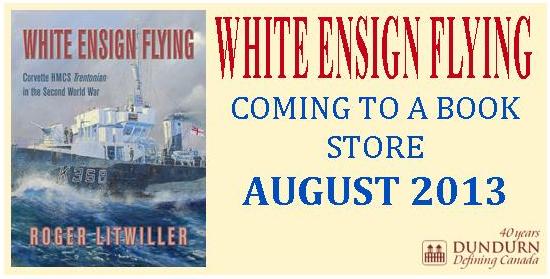
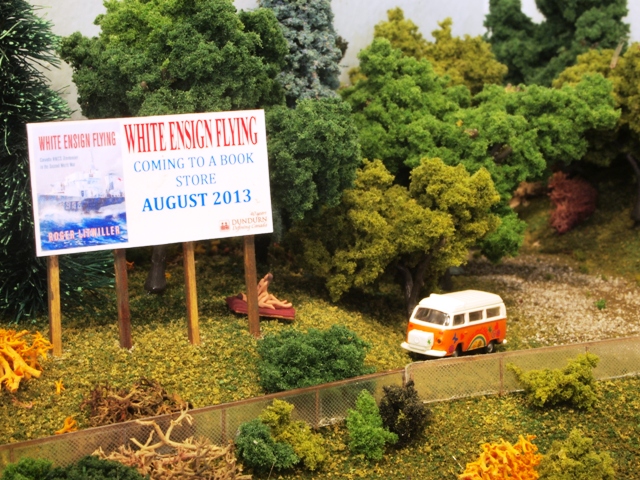
Never missing a chance to promote my books, I designed this sign for the scene.
The signs are from Osborn Model Kits. I designed the signs on my computer. The one on the right is for the St. Lawrence Seaway, “One Ship Saves a Thousand Trucks.” The sign on the left is an advertisement for my latest book.
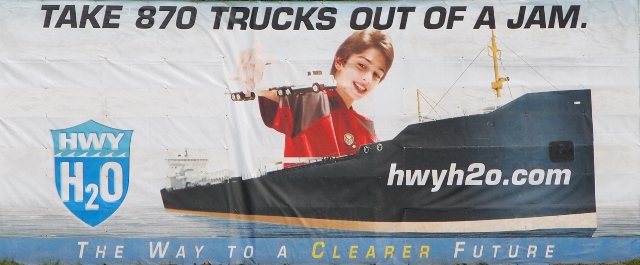
This sign is from a photograph of a St. Lawrence Seaway billboard, cropped and re-sized to fit on the layout.
Lover’s Lane
Being a secluded area, I placed a single VW “Flower Power” van at the end of the road and later I will place a couple in the bushes behind the sign, “Having some Fun.”
The micro scene that inspired “Lover’s Lane.”